Why this project?
I like to write, solve problems, and come up with ideas. But the whole finishing and polishing part is hard to get around to, with work and family and friends. So why not automate what we can automate… Also, because it’s fun!
The system we create here can of course be used in a myriad of ways, so don’t think we’ve reached the end of the line when we are done. It could be used to create images for your linkedin posts? Image of the day? Meme-maker? And while we are using the setup to create images, it could be used in a host of different ways as well.
Toolstack for the project
Every project requires tools. We need to be able to trigger this one, and find the wordpress posts that are relevant to generate images for. From there we need to read the article, convert the contents into a prompt, and generate an image from that. The image is returned, and we then need to set it as the featured image for the blog post…
Make.com will watch for changes, filter out what posts need a new featured image, read the article, and send it to buildship. Make.com will grab the returned image, download it, and add it as an image for the post.
Buildship.io gets a request from Make.com with the query string that holds the title, the id of the post, as well as a plain text version of the content. This is then rewritten into a prompt using chatGPT, and sent off to Fal.ai to have an image generated using the flux model.
Fal.ai makes ai inference easy and quick and affordable, so we will use that to generate an image. There’s a small bonus section on how to train a lora to drive the model look etc at the end.
Lets get started!
Allright, there are some things you need to get set up straight away, and since these things often change, and are pretty self explanatory, I wont go through them here in too much depth. You need to set up accounts on make, buildship and fal… Also, you need a wordpress blog.
In wordpress, you should go ahead and install the make.com plugin. There’s a guide to this, so go ahead and follow that.. its VERY straight forward.
First steps in make.com
Next up, head to make.com, jump into Scenarios, and hit the “+ Create a new scenario” button in the top right corner
This takes us to a new work area, canvas, flow… a rose by any other name…
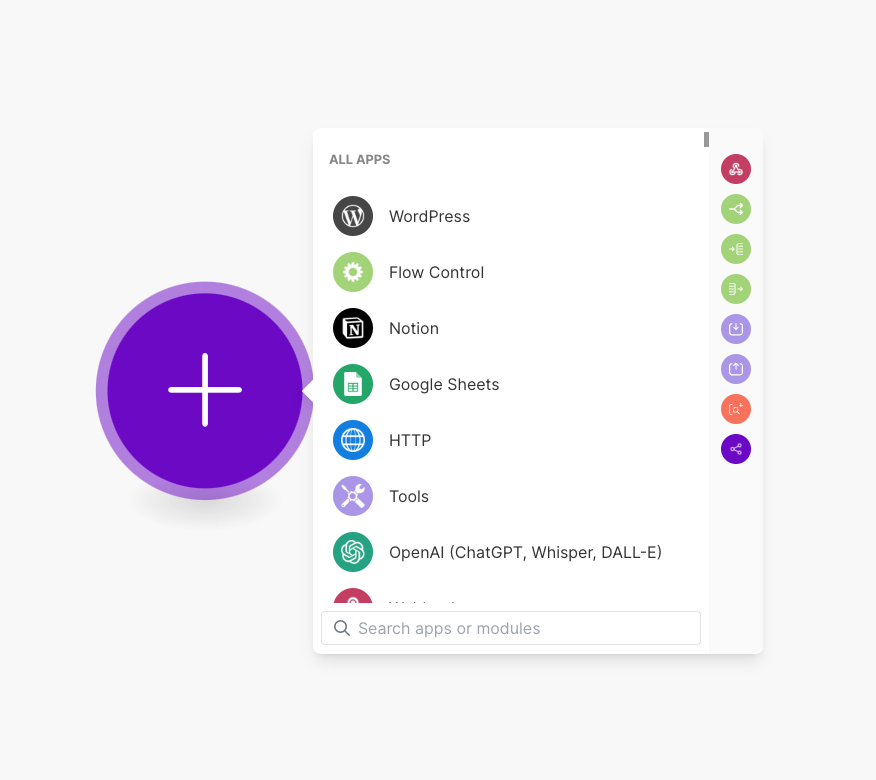
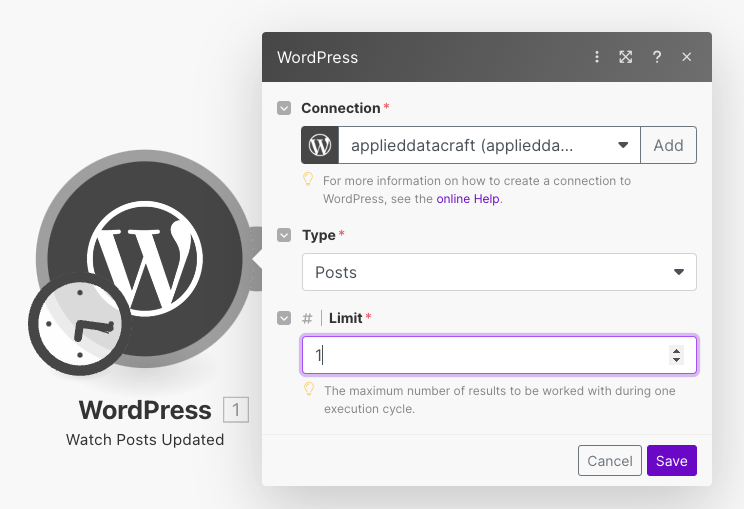
we want the trigger, the action that sets this whole thing off, to be from WordPress, so click wordpress, and then click “Watch Posts Updated”. This means that make will look for posts that have been, surprise, updated since last time it checked. If you haven’t already set up your connection to wordpress as described by the guide, go ahead and do that now. Otherwise, select the one you have created, and under type, select Posts, and set the limit to 1. The reason i set the limit to 1 is to avoid weird things happening when running multiple posts through fal.ai and not using a queuing system. So keeping it simple 🙂
When you are then asked “Choose where to start”, just click “All” as we will be doing some testing along the way etc. An important thing to remember is that you can always click the wordpress node and select Where to Start and reset it, so you dont have to force making updates to your posts in order to trigger the flow while we are developing it.
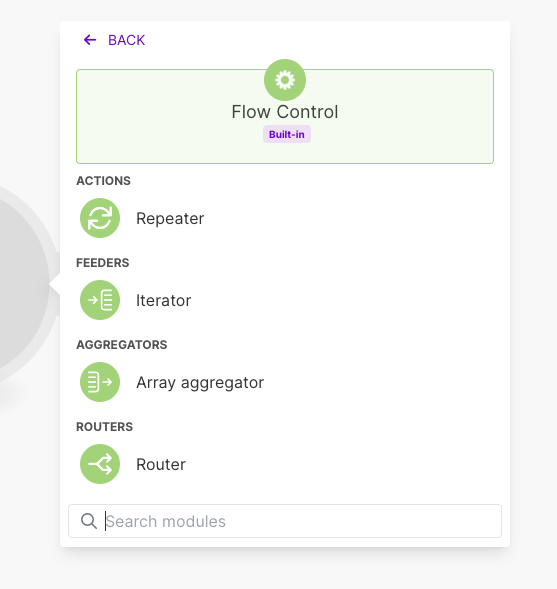
The first thing we want to do is filter to see if the post has a featured image. We dont want to recreate the images constantly. We could filter on other things as well. Maybe you have a tag you set to create a new image, or some other trigger of filter. So click the little plus on the right side of the WordPress node, to create a connected node. Find “Flow Control” and the add a “Router”
A router lets us have the flow choose one of many paths, so it’s ideal for what we are doing here. But before we can move further, we need make to get an idea of what that values and variables we will be getting are. So click the Run Once button in the bottom. This will run the flow, and you can now see that we have some data coming into the wordpress node
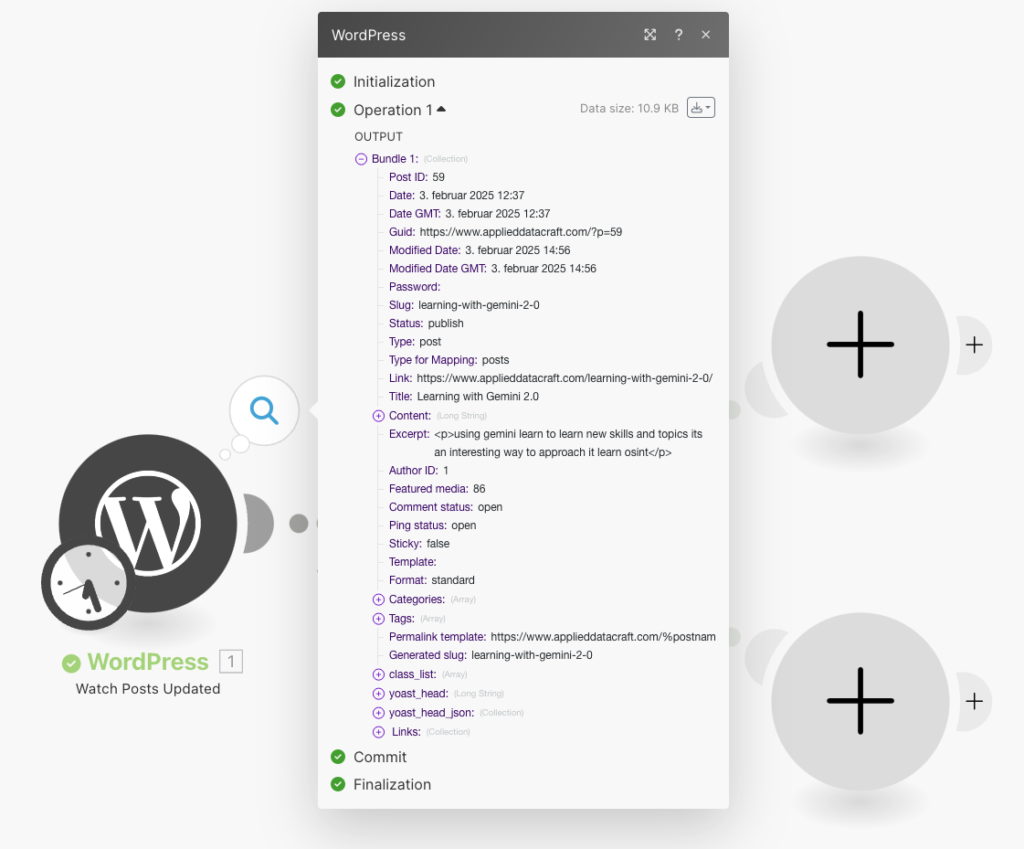
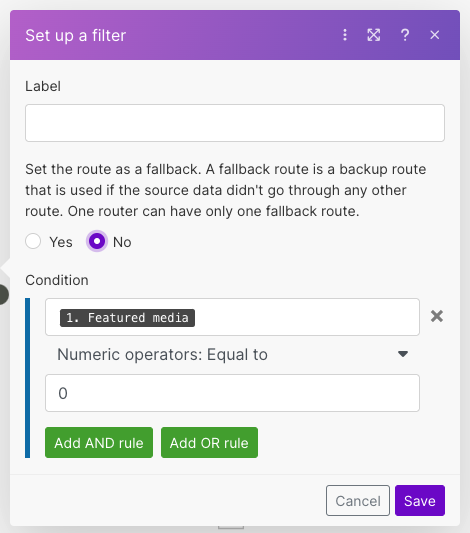
The interesting value in our fase is the “Featured media”. If it has a value, that means it has a featured image, and we don’t want to mess with it. So lets create a filter out of the router. Now, one thing to note, is that we actually don’t NEED the router, as a filter can be applied anywhere, but i like to do it to create a fallback in case i come up with other stuff along the way. So click on the little wrench icon between the router and the empty + node, and set up the filter as shown below
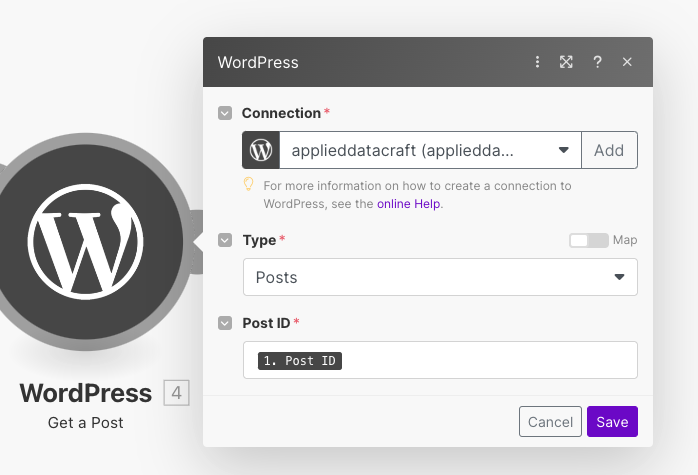
Now that we are filtering for the posts that do not have a featured image, it’s time to move on. We want to grab the contents of the post, in order to write a prompt to generate a suiting image. This gets a bit over engineered, but this is the method i have found that works the best, so lets go with it. The first step is to read the contents of the wordpress post, so we will create a “Get a post” node, and set it to get the current post id.
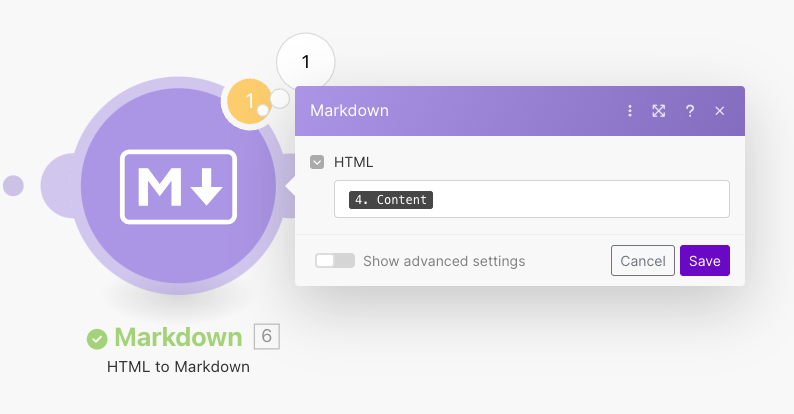
next, it’s easier to pass the content along if we convert it to markdown, so add a “HTML to markdown” node, and feed it the “content” of the previous node
Now, be sure to save the flow. It’s time for us to head over to Buildship for some more automation fun. So head on over, and make sure to set up an account.
Getting started with Buildship
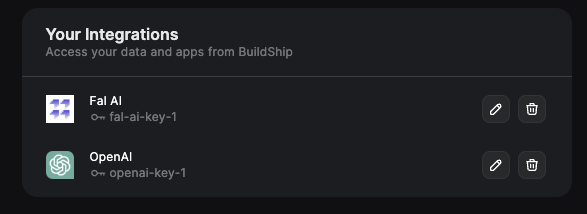
Once that’s done, you’ll want to click into workspace setting, the little gear on the top left, and head into integrations. Here’ you’ll set up an integration for openai, and fal.io. Being a bit on the lazy (let’s call it optimized) side, I’ll let you follow the guides on buildship when doing the integrations to set up the keys you need etc. When you’re done, you should have the two integrations ready to go
Great, we’re already laying some solid foundations for automations. So once that is done, you’ll go back to your home, and find the button to create a new flow from scratch
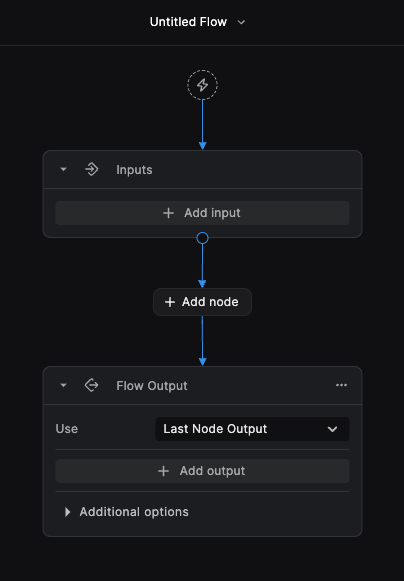
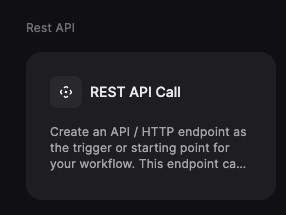
We are now presented with a flow that takes an input, and return an output… as simple as it seems, thats actually a really valuable thing. Lets start by renaming it, and then work on adding inputs. Click on the lightning bolt on top of the flow, and add a REST trigger
if you’re ok with the path name, hit connect, so we can start passing some data in, and making more progress on defining the inputs. Once connected, you’ll see a url on the right hand side of the screen. Copy that, so we can send data from make into the flow. Now, head back into make.com and great a node after the markdown node of the type “Make http request”. In the url field, paste in the url you copied from buildship. Change the method to POST, and lets start adding some data. This will be added to the query, so we need an entry for the title, and one for the content.
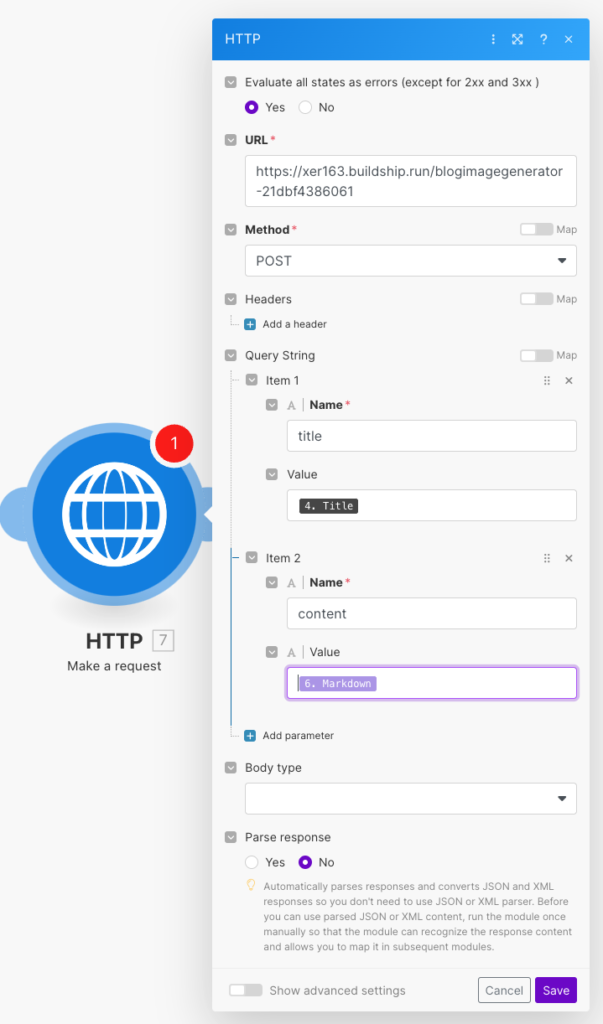
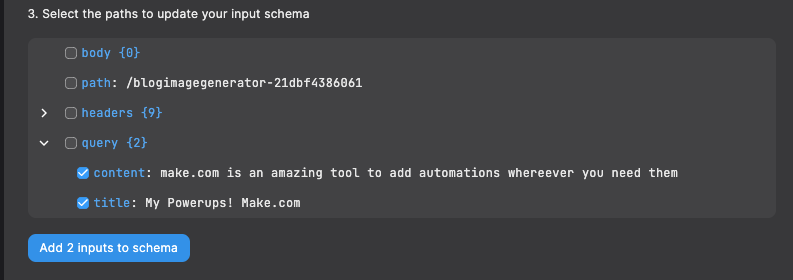
As you can see, the title comes from the read post node, and the markdown output is piped into the content. The next step is to run the make scenario. Make sure you have a post that triggers the whole flow. It will trigger an error, but don’t worry… head back over to buildship and under the url you copied, you can click “Get Data”. This should expose all the data that actually came in with the call. Expand the query part, and select content and title, and click add 2 inputs to schema.
We can now access the data passed into the call throughout our flow. Magic? Not sure, but it’s a nice and easy way to set things up. In the top right corner, you can switch between connect and build… it’s time to build, so select that.

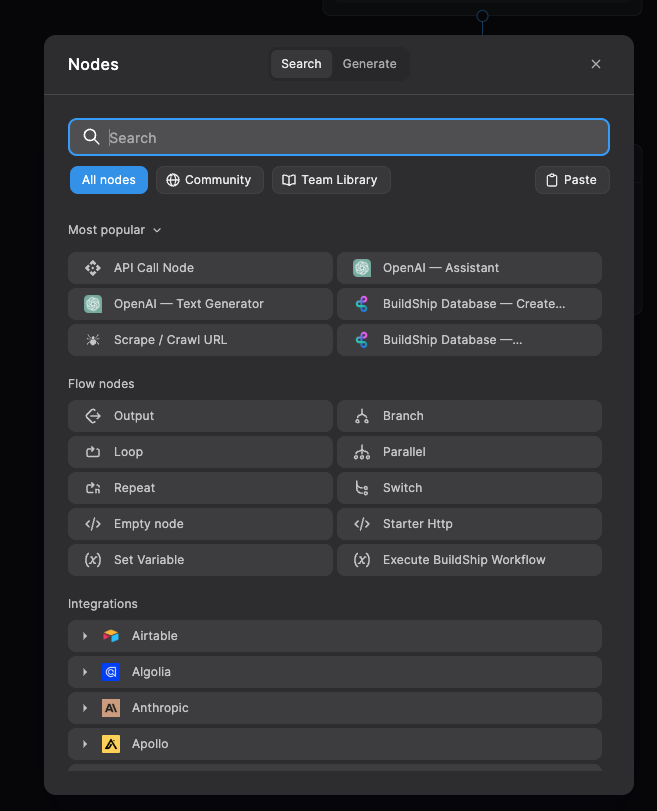
Add a node between the input and output, and select the openai text generator.
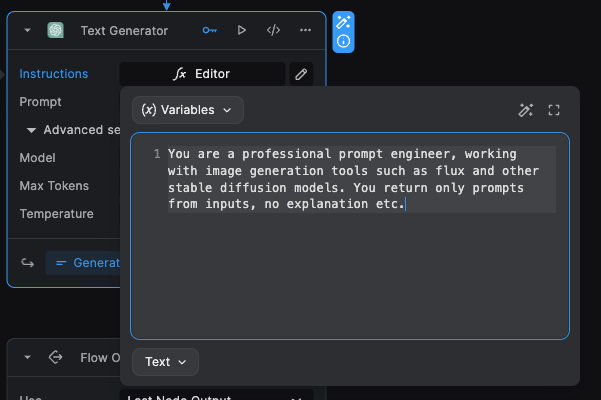
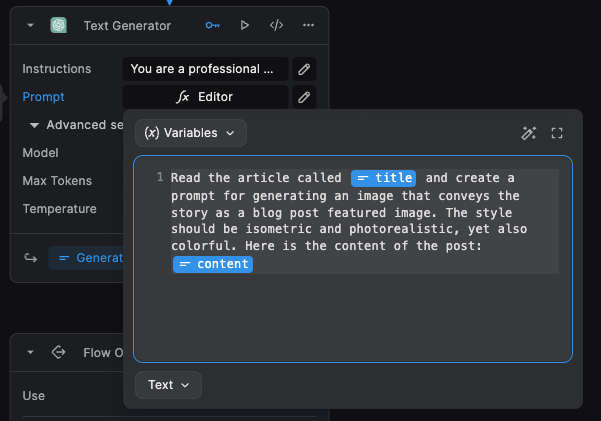
As you can see, there are instructions and a prompt, some advanced settings, and you can see that it returns “generated text”. For this case, you might want to set the model to one of the mini models, though it’s not too important. To start with, lets edit the instructions. This is equal parts art and science, so here’s an example of what it could be set to, but you should experiment.
Now for the prompt. You can reference the inputs either by choosing them in the variables dropdown, or just start typing their names and the editor will suggest them. An example of a prompt could be this:
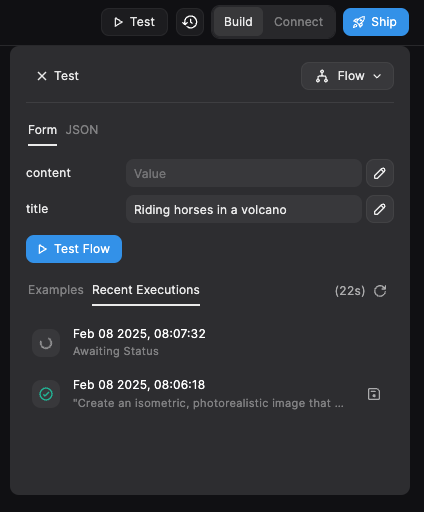
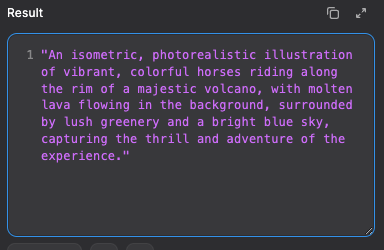
Time to test. Next to where you switched between build and connect, you can also hit the “Test” button. You can choose to test the flow, or just a node. In out case, lets set it to flow, and lets just add in a title and see what comes out.
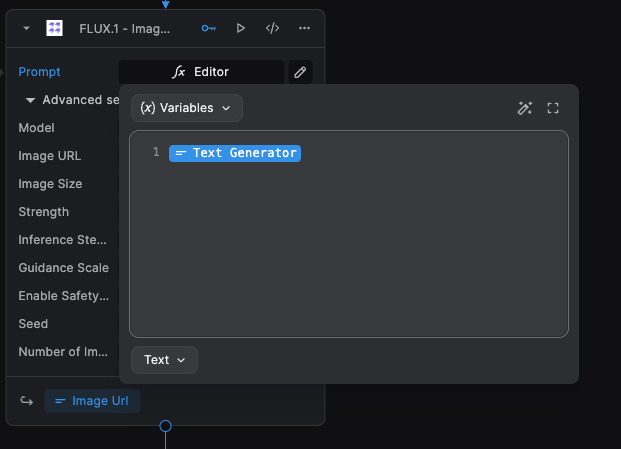
Allright, lets go with that for now, and generate an image using Flux on Fal.ai. If you hover over the circle that connects out of the text generator, it turns into a plus sign, and you can now find the fal.ai node called something like FLUX.1 – Image generator. Under advanced settings, we’ll change the model to Schnell, and set the size to square, and the Inference steps to 12… just to make it fast to work with for now.
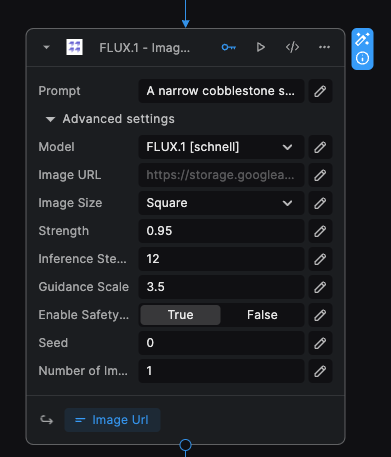
Now for the magic. Open the prompt editor, delete the contents, and click on variables to find the output from the Text Generator.
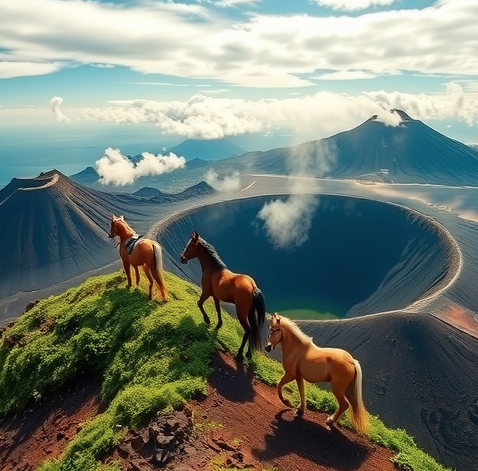
Run another test of the flow, and you should be presented with a url for an image. In my case, not the best image… i think i’ll change back to Flux pro.. but there’s an image!! And you should of course remember to work on that prompt. Later on, we will also implement using a Lora to define our style even better.
For now, let’s keep the momentum, and press the “Ship” button in the top right corner so we can head back to make.com and finish.
Posting the picture
If you run the scenario in make again, you can now see that the HTTP request is actually made, and an image url is returned! We need to do a bit of work on that string, download the image, and add it to the wordpress post as a featured image.
The first part took some trial and error, as we want to remove the square brackets and quotation marks. So add a text parser (match pattern) node after the http request, and use this string as the pattern:
[“(.*?)”]
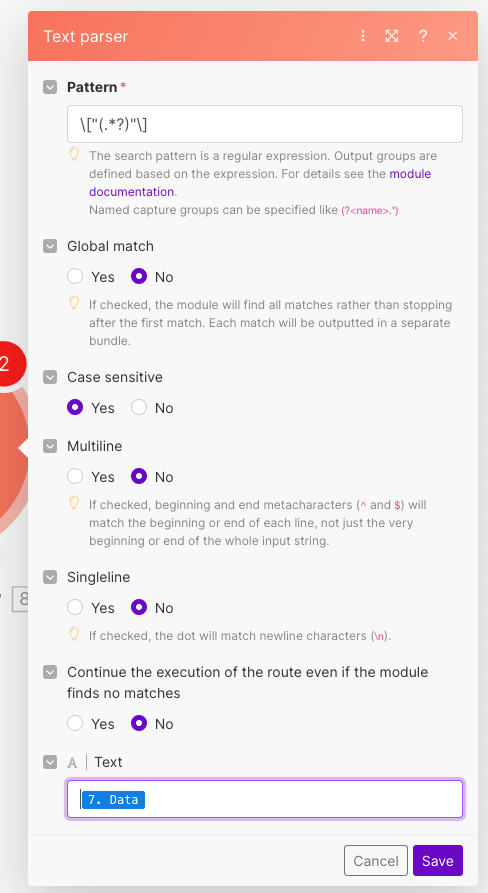
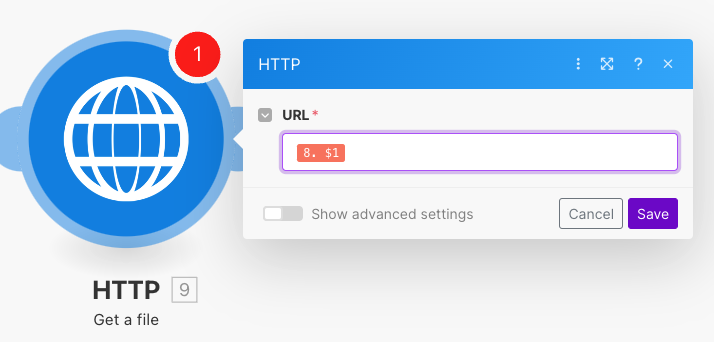
Set the Text input to be the data coming out of the HTTP request. From here on, it’s actually easy. Add a HTTP “Get a file” node and set the url to be the output from the text parser
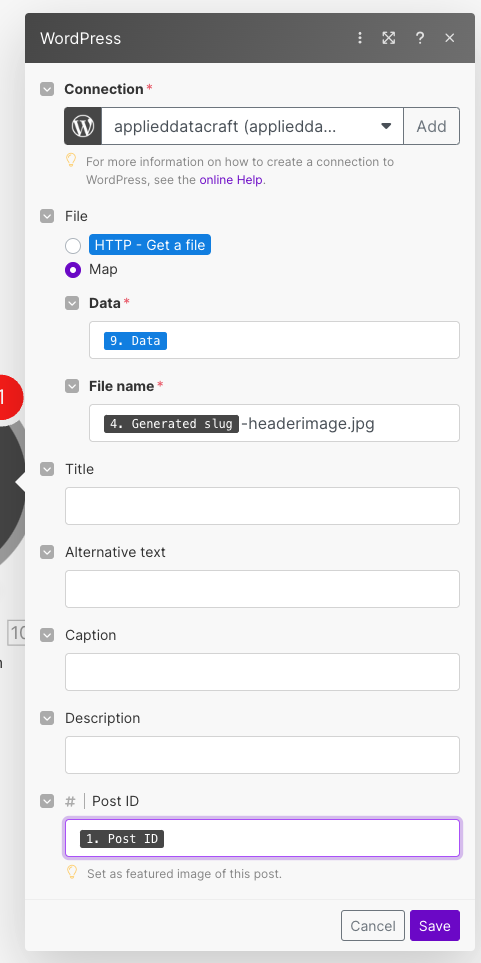
After that, create a “Create a Media Item” wordpress node. This one takes a bit of finessing. It’s tempting to just use “HTTP – Get a file” as the file input, but that will create some naming challenges that we dont want to deal with. So set the file to “Map”. Then map the data from the “Get a file” node into Data, and come up with a way to generated the filename. You can see in the image below how i did it. Lastly, since the purpose here is to add it as the featured image, we can quite simply just add the Post ID from our initial node into the Post ID field, and wordpress will turn it into the featured image. You could also consider returning the prompt from buildship, and filling the alt text etc using that, but let’s keep it simple for now.
Running this, will actually generate your image, and apply it to the post!! Dont forget to save the scenario. Also, you can trigger on time, webhooks an more, but for now i’ll you to be creative with this.
Consider for a brief second what we’ve done…
We have created a system that will find posts on your blog that need a featured image… it will then read the content, use ai to analyze it and create an image generation prompt. This prompt is then used in another generative ai to create an image tailored to the content of the blog. From here, the image is pushed into your wordpress environment and added to the post as a featured image. It’s actually a pretty impressive thing when you think of it. And it’s just the start.